Art inspired by art -Bisa Butler

‘The safety patrol’ 2018 Bisa Butler

This is going to be an exciting project, we are going to be looking at some art work and take inspiration from these pieces and create our own.

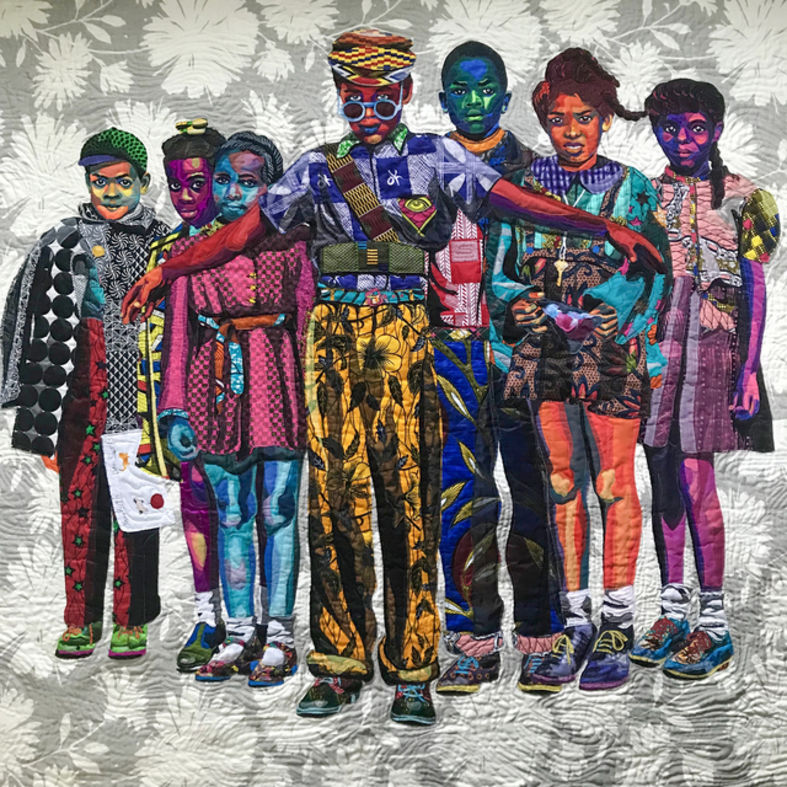
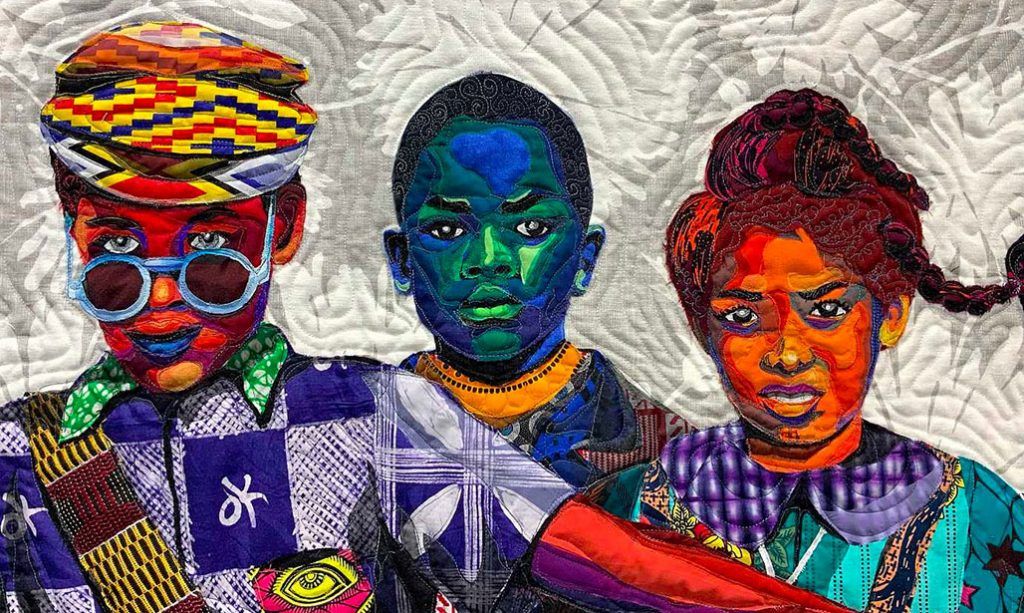
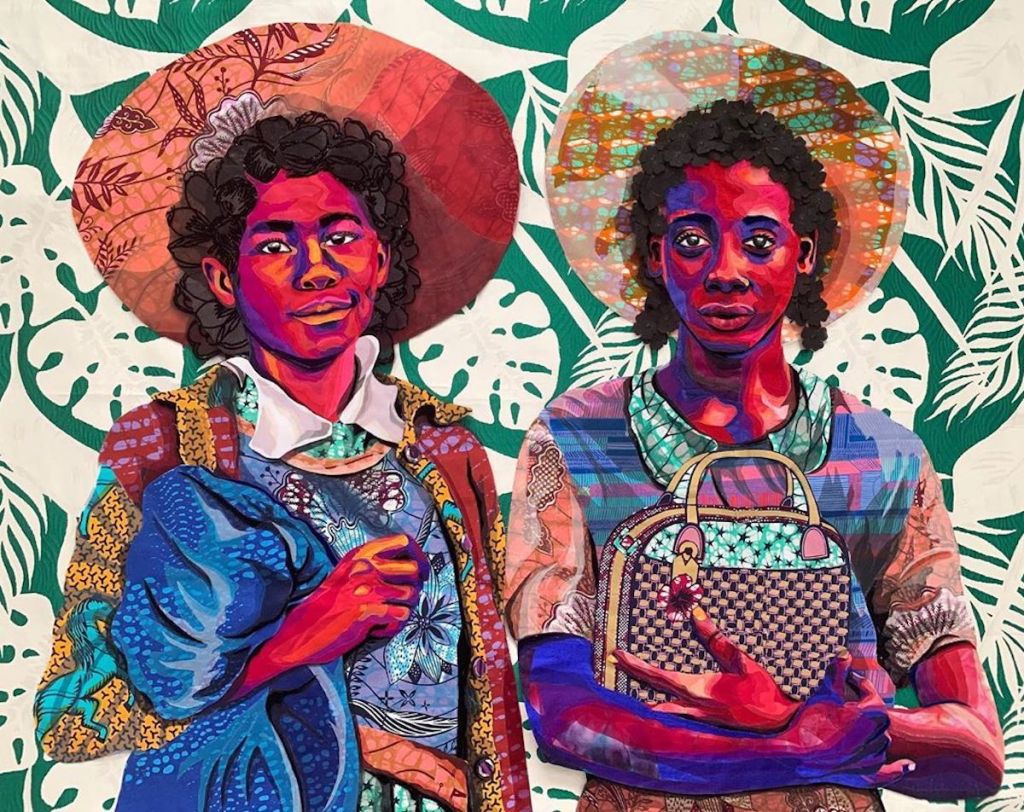
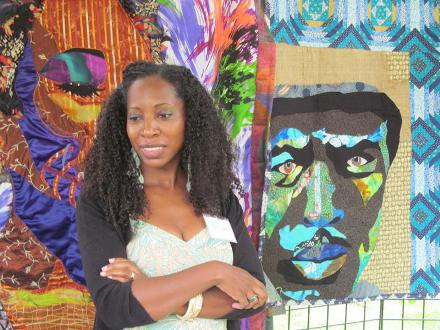
Bisa Butler she is an American artist known for her quilted portraits and designs celebrating black life.

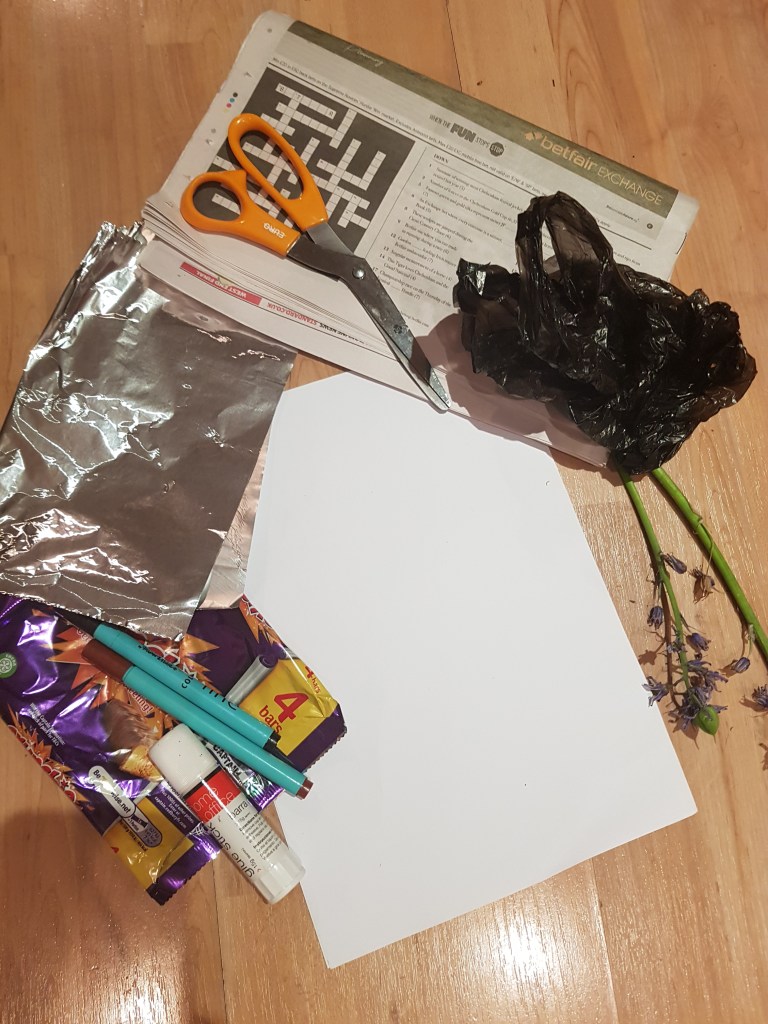
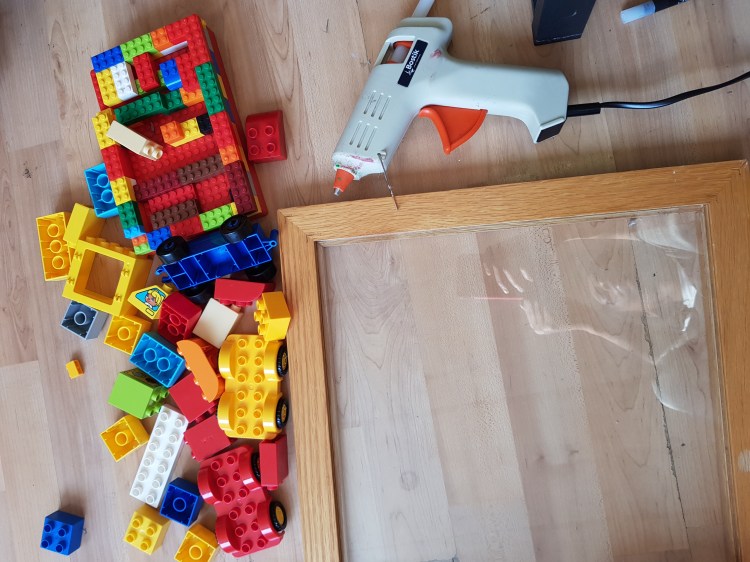
For this you will need :

  1. Old unwanted fabric ( T.shirts, jeans jumpers etc)
  2. A big piece of cardboard ( one square from a large delivery box will do)
  3. Scissors, PVA/fabric glue/ glue gun and a pencil

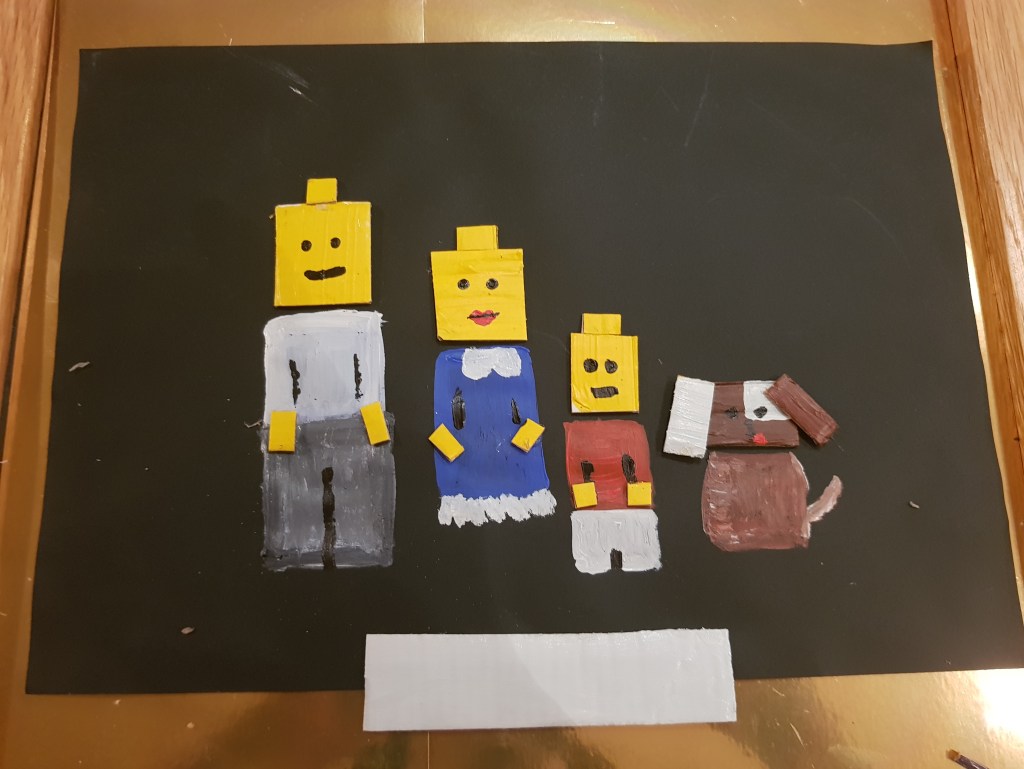
For this project we are going to make our own fabric portraits. You can do a portrait of yourself, family, friend or your pet what ever you choose make sure to go big, the bigger the portrait the easier it will be to do the fine details. Now that has all been said lets get creative.

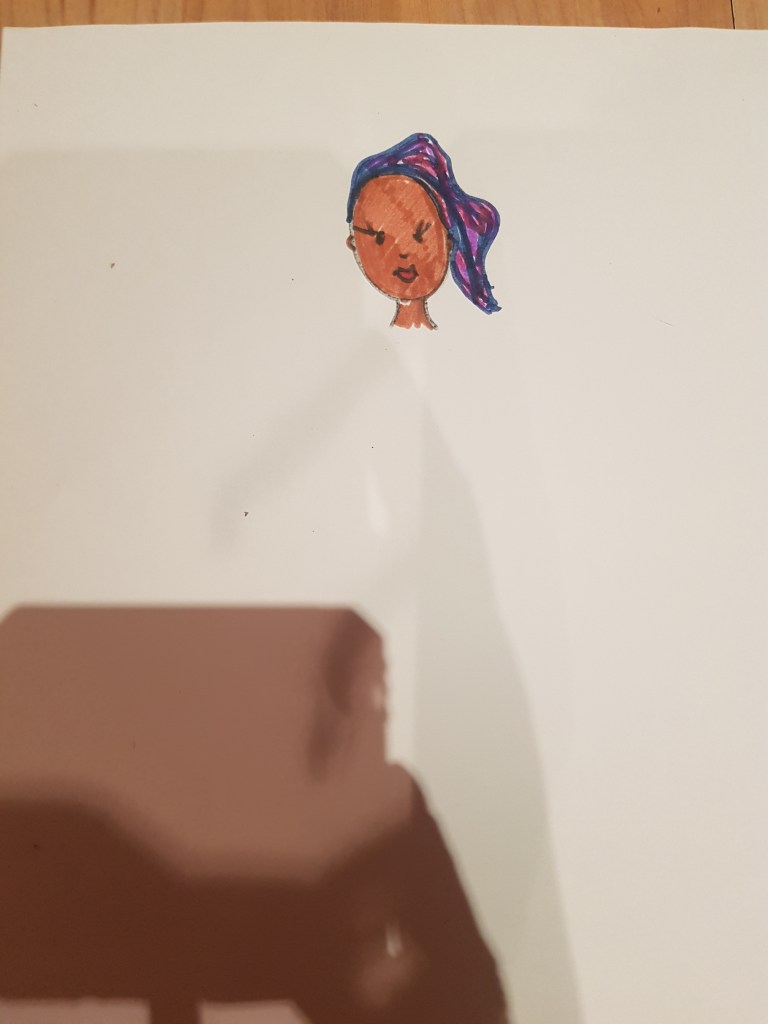
  1. Place your big piece of card onto a flat surface and draw your portrait, this does not have to be detailed as it is going to be your outline to help you.
  2. Once you are happy with your outline drawing gather up all your materials and start cutting out shapes to fill up your background.
  3. Start by filling up the background with large pieces of fabric, once happy glue down.
  4. Now cut smaller pieces to fill out you portrait, before you stick fabric pieces down make sure you are happy with where you have placed your pieces of fabric.
  5. Happy? if so now stick down. remember to add different layers and textures.
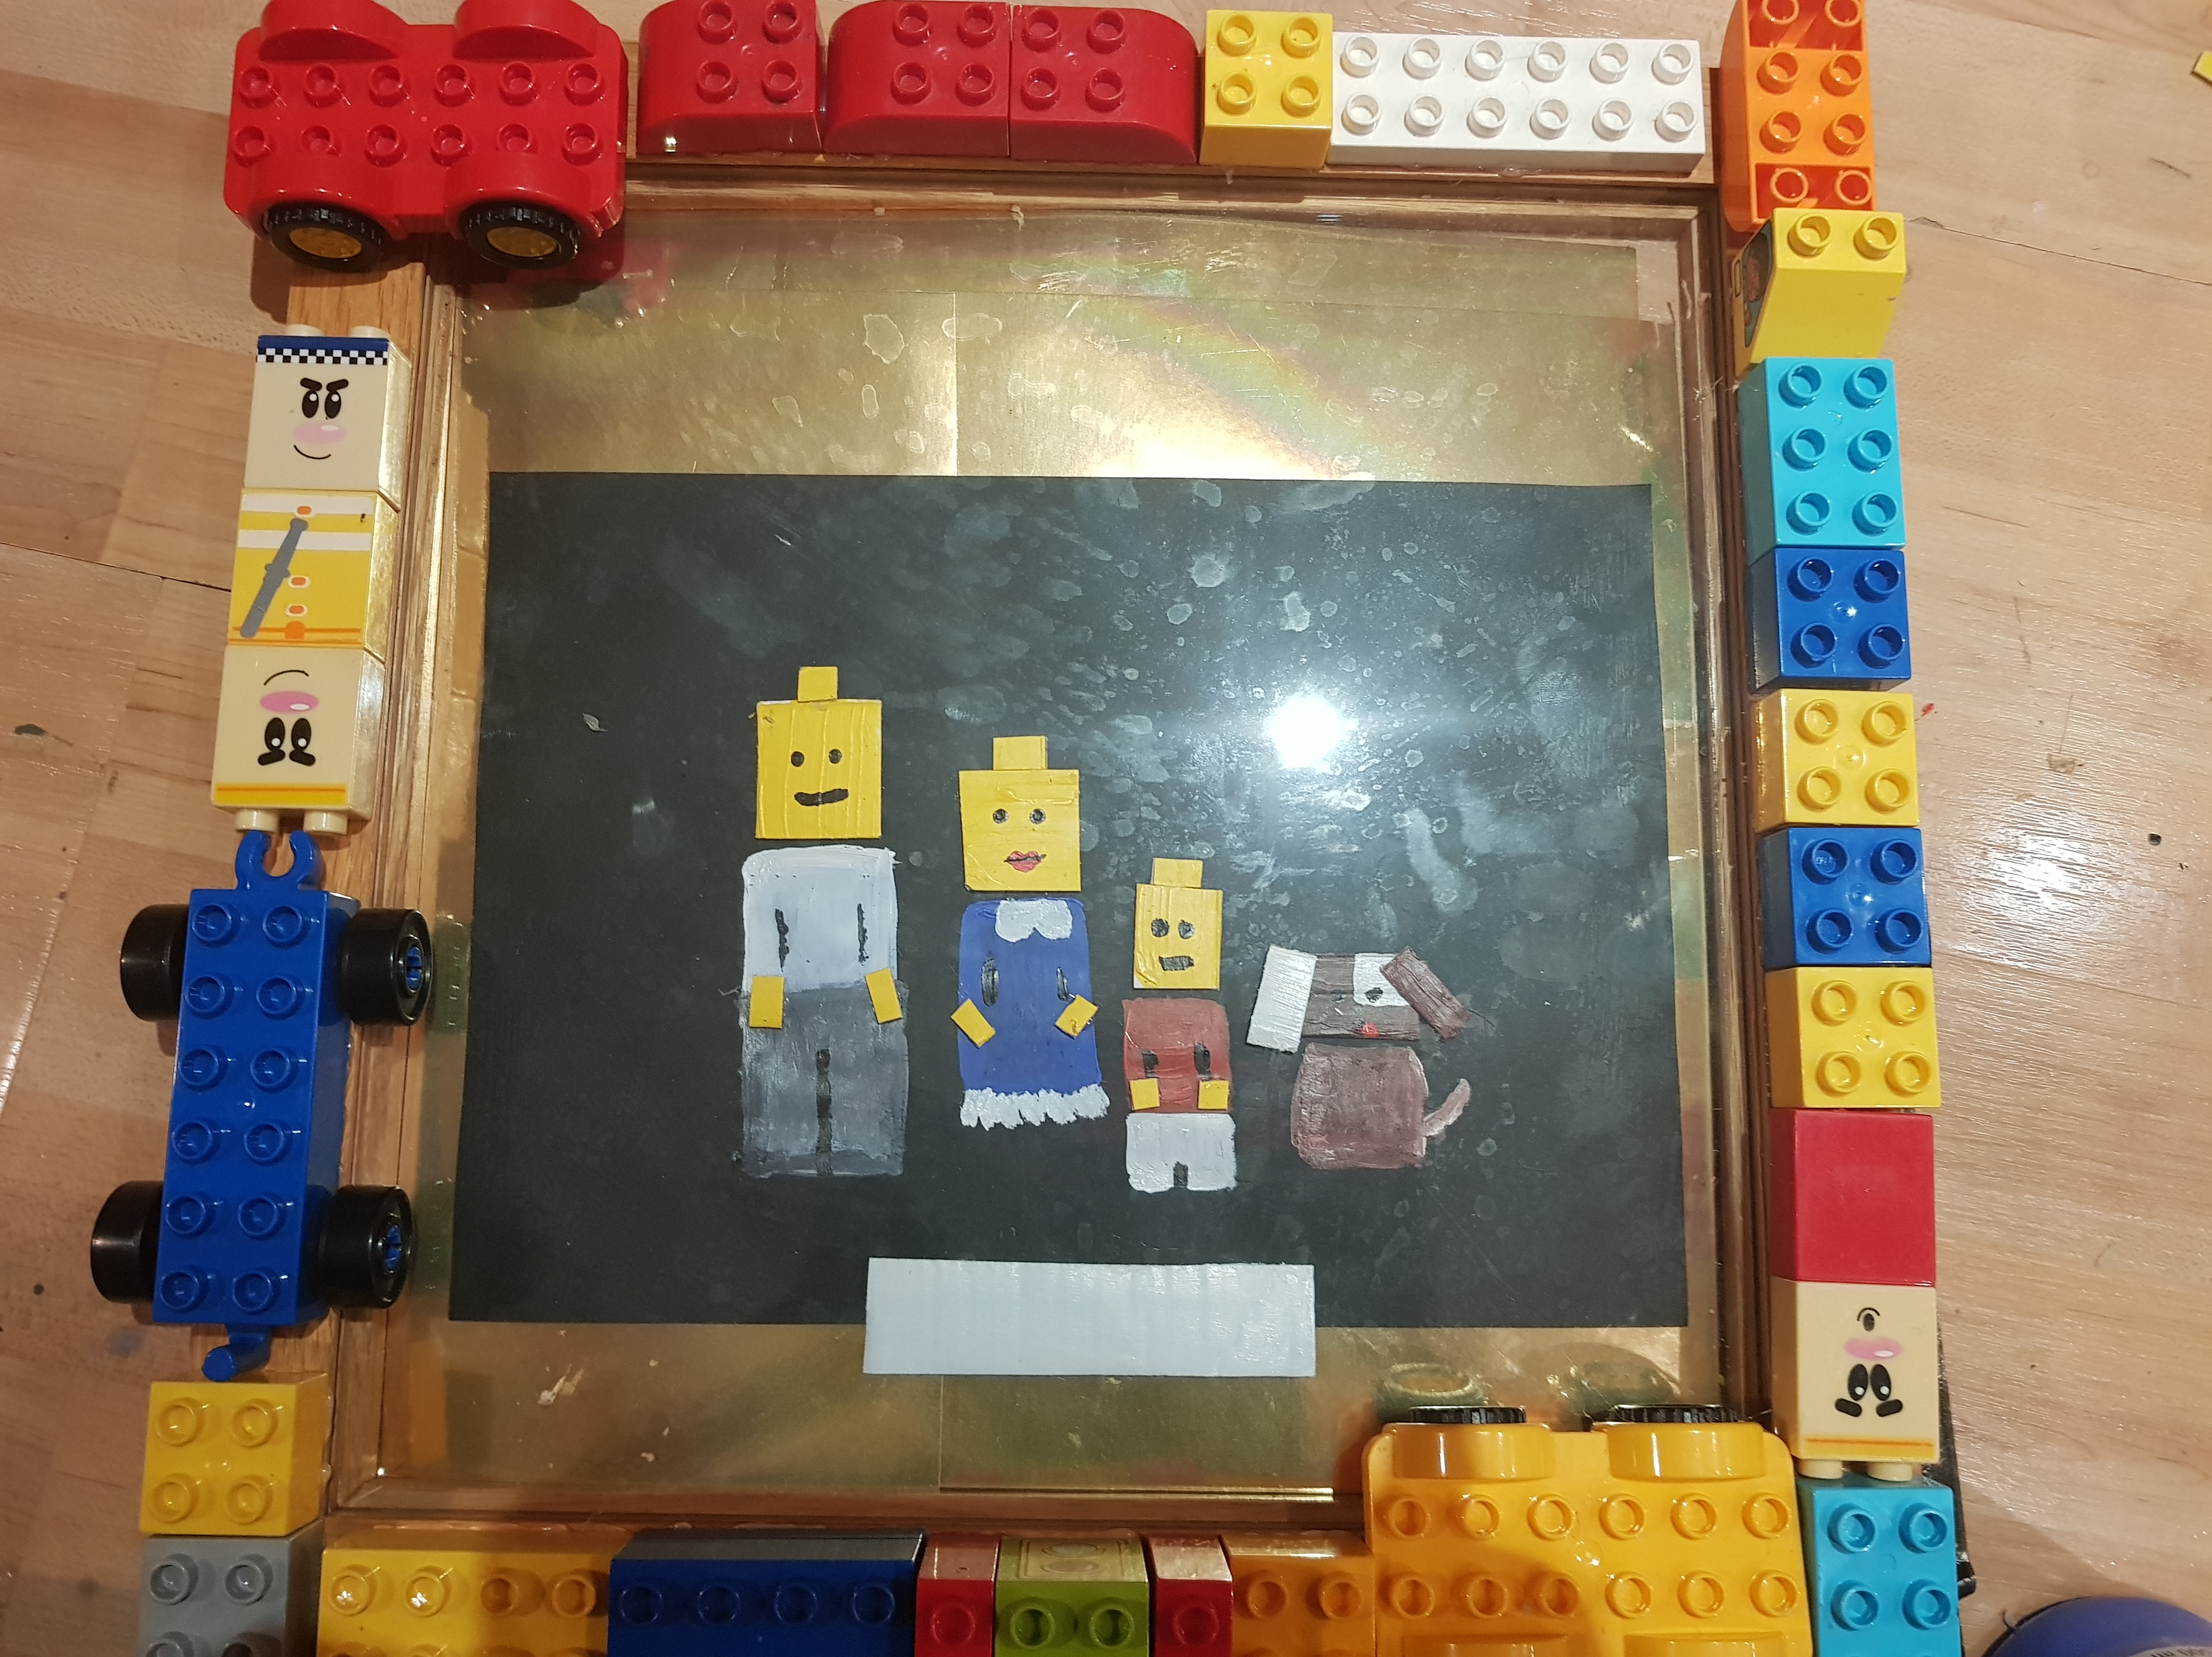
  6. Now for the details you can use buttons, zips, hems, stitching you name use your imagination.
  7. When you have finished adding the detail take your PVA glue and paint over the background material once covered leave in a safe place to dry.
  8. Now dry you have created your own Bisa Butler inspired art piece.

Hope you had as much fun creating your portrait as much as i did. Now you have worked on a big scale why not try making mini versions for your friends and family.

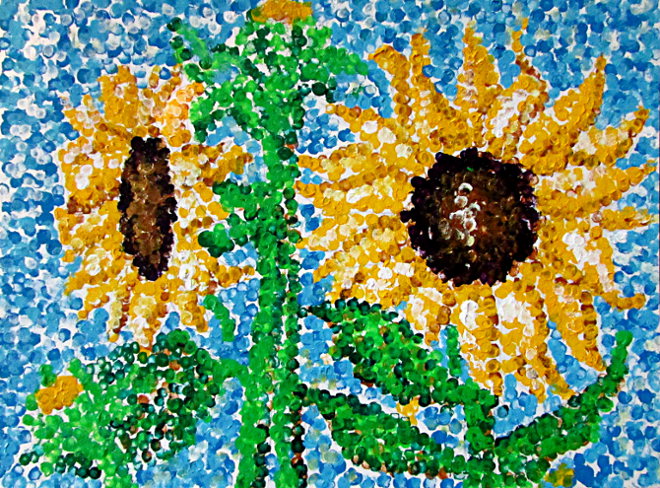
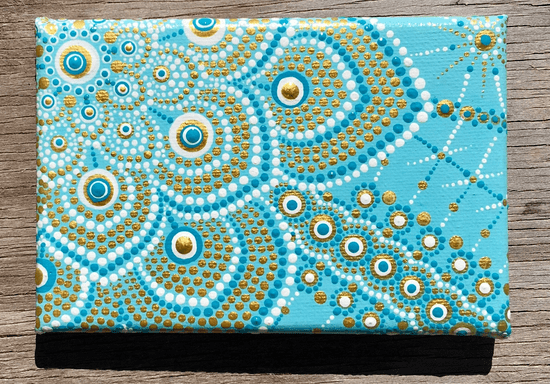
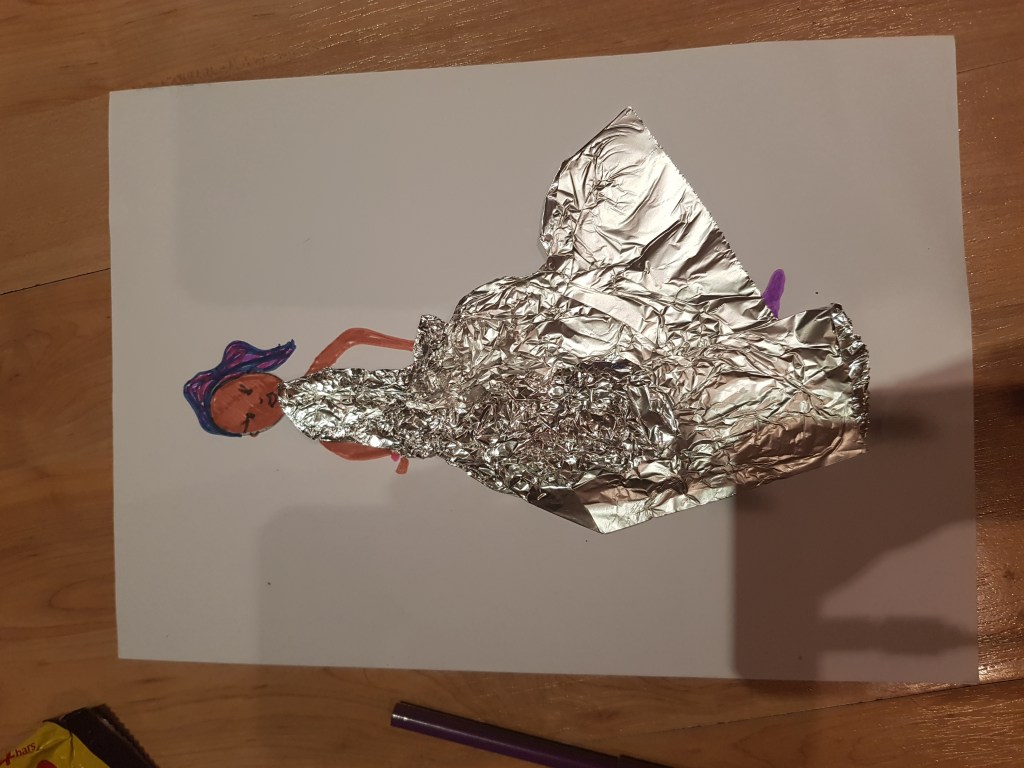
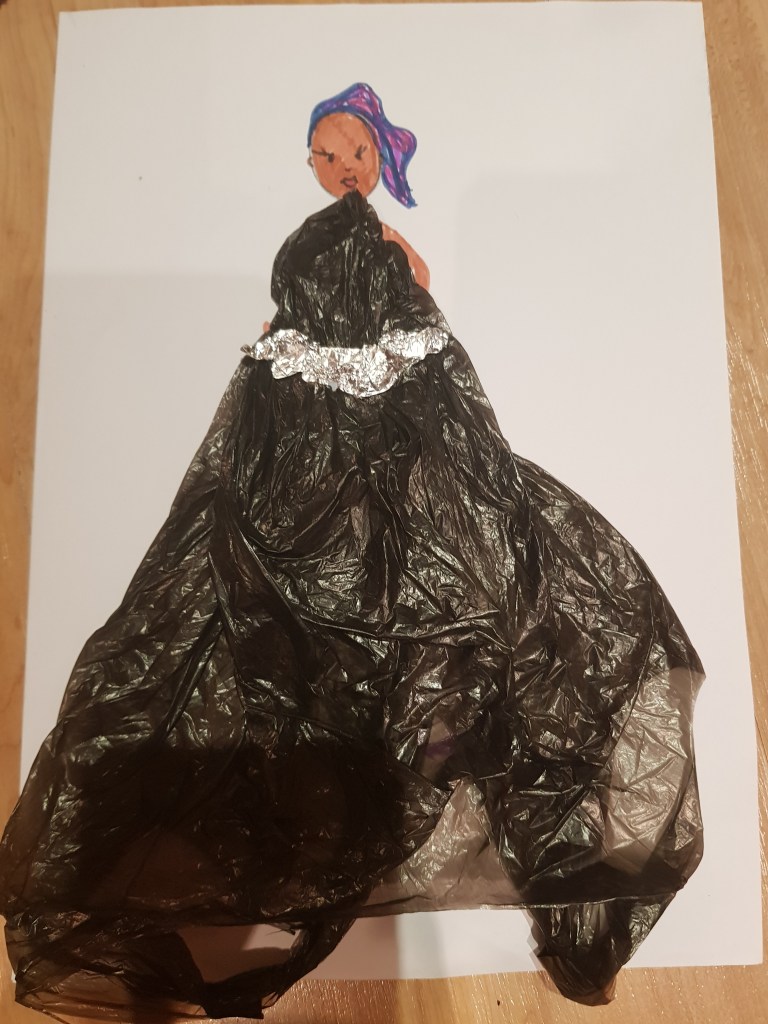
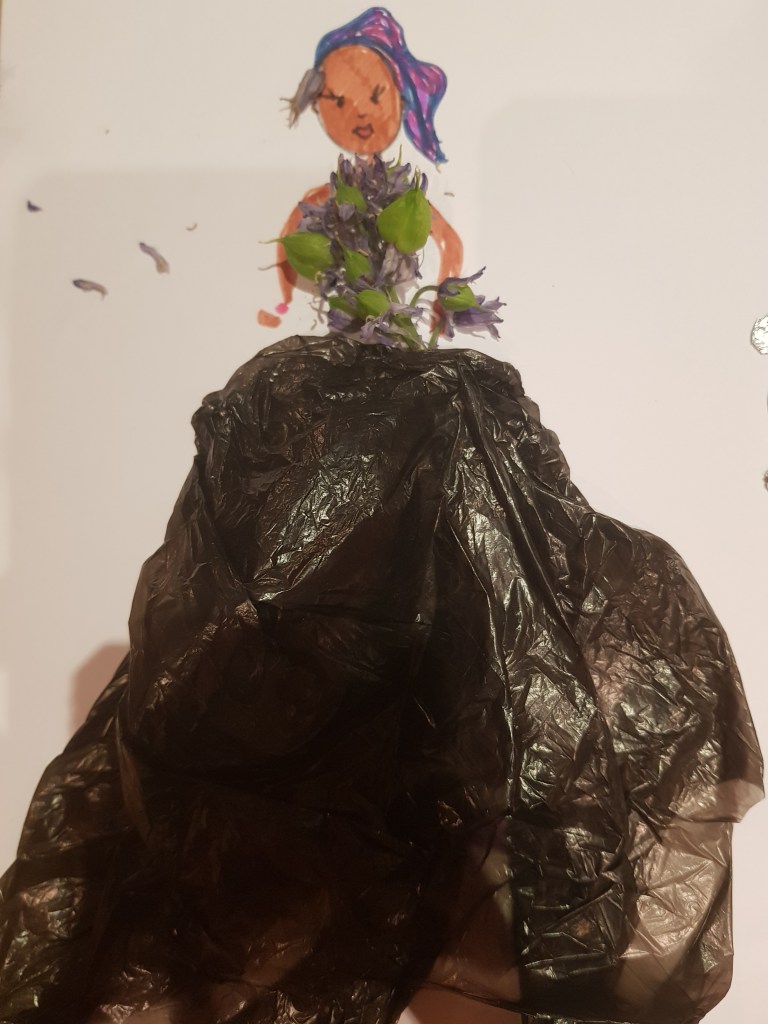
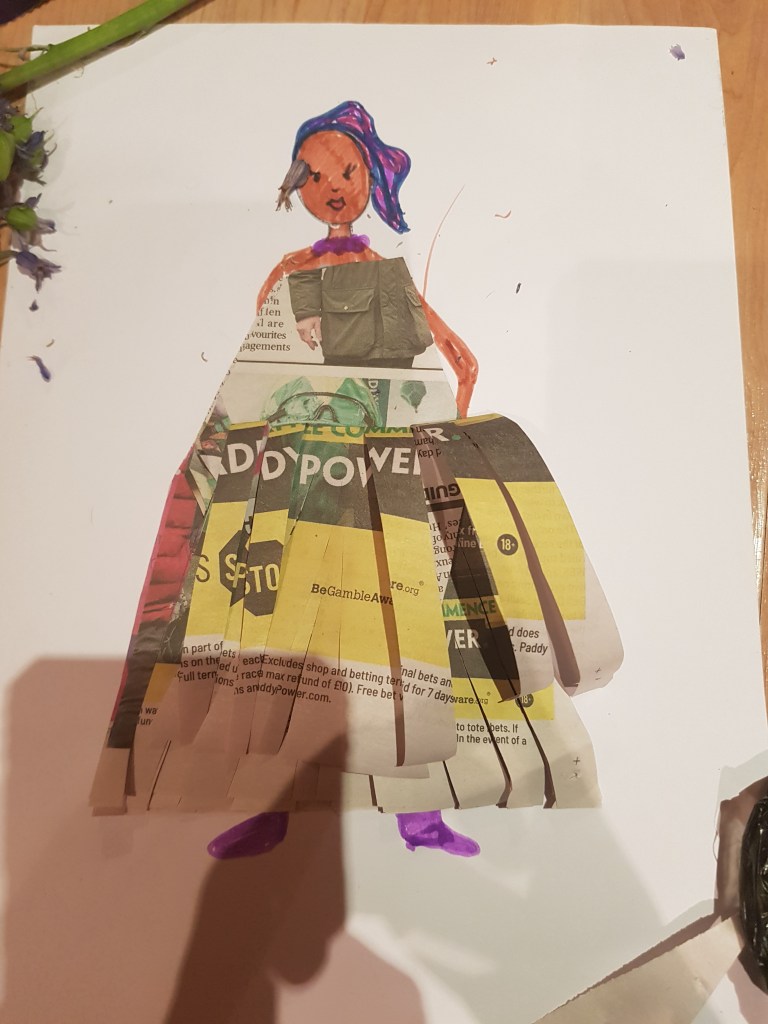
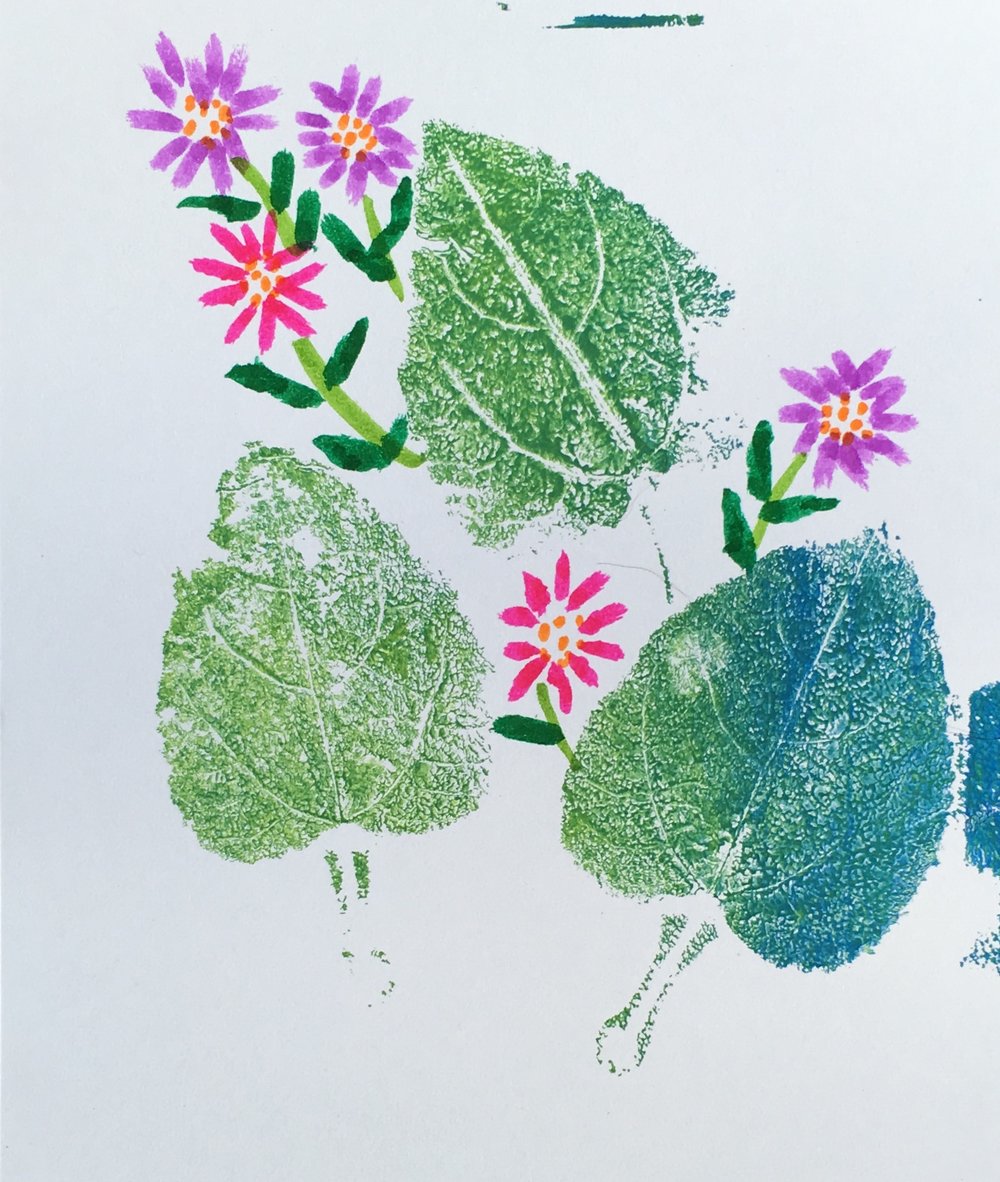
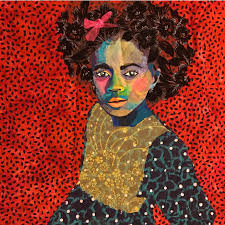
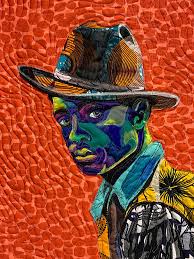
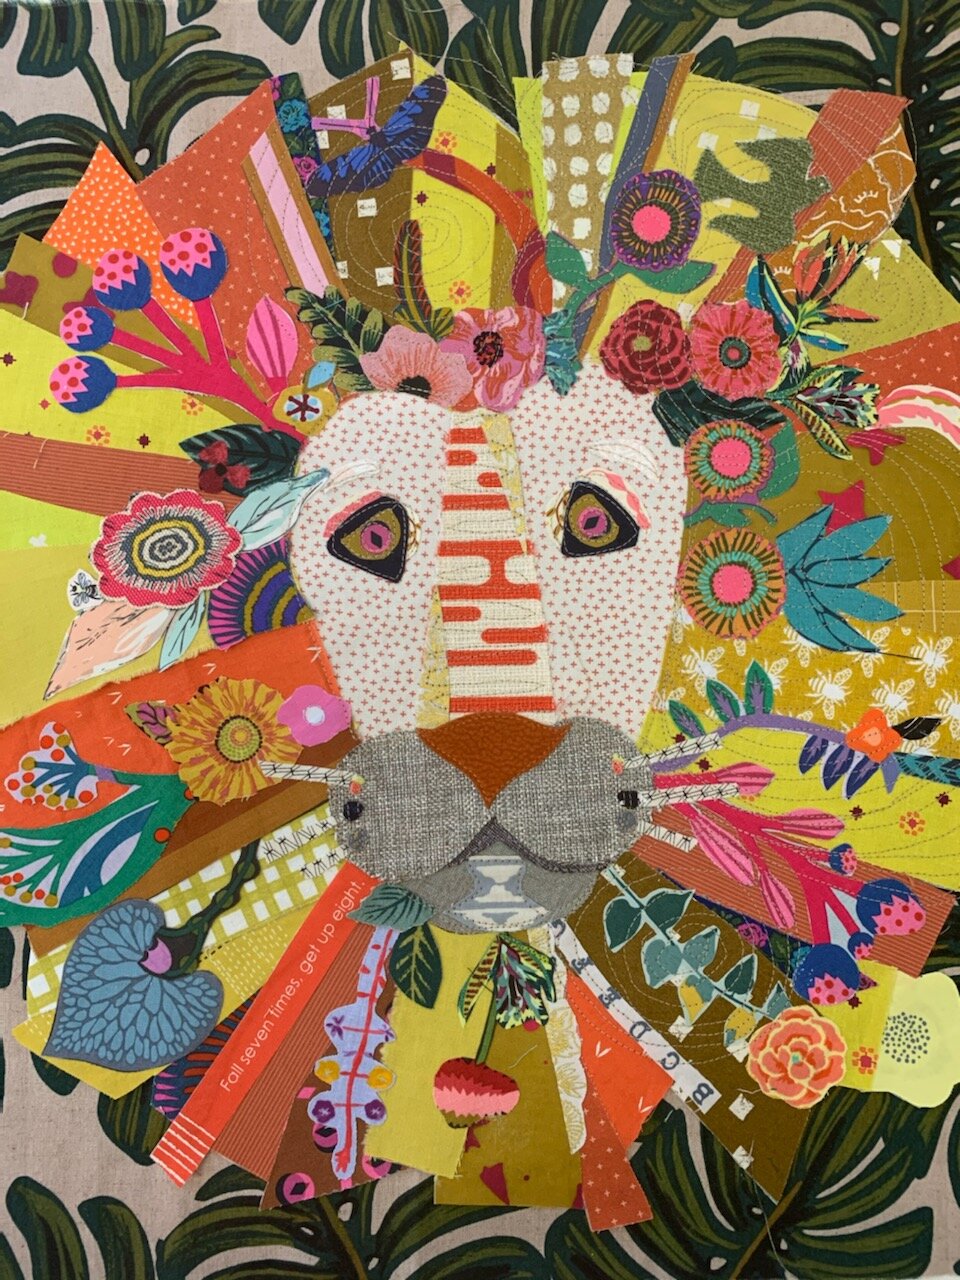
Here are some examples of art work made by using scraps and cuts of fabric.

20+ Best fabric collage images | art quilts, textile art, fabric art
Lion Fabric Collage Kit//Applique Art — Bumbletees Fabrics
80 Best Fabric Collage + Applique + + + images | applique, art quilts, textile  art

Have fun and keep staying creative. Send in a photo of your art work and share on our gallery.

Miss Y

POINTILLISM ART

Pointillism is a technique of painting in which small, distinct dots of colour are applied in patterns to form an image. Georges Seurat and Paul Signac developed the technique in 1886.

Seurat, Georges: A Sunday on La Grande Jatte—1884

Seurat, Georges: A Sunday on La Grande Jatte—1884

Using this technique create your own pointillism inspired art work.

EQUIPMENT:

Paper, acrylic paint/ pens, cotton buds, old pencil.

Here are a few examples of pointillism inspired work.

Pointillism Georges Seurat Art Lesson - Happy Family Art
Q-Tip Pointillism Lesson Plan for Kids
Pointillism Fruit by mgafm on deviantART | Elementary art projects, Art for  kids, Elementary art

Once you have completed your amazing art work why not try and create your own pattern using the pointillism technique this time using different sized circles.

For this you can use a cotton bud, pencil, old marker pen ( both ends).

Pointillism: The Art of Dotting | skilldeer

Have fun and keep creative. Send in any art work you would like to upload and share for your friends and family to see in our gallery.

Miss Y

POM POM FRIENDS

EQUIPMENT: SCISSORS, 3 BALLS OF WOOL, CARDBOARD, PEN, CUP.

EXTRA PROJECT:

Using cardboard, buttons, scrap fabric add some accessories to you pom pom friends. You can add a bow, ears, shoes use you imagination add what ever you like. You will need a glue gun for this.

RSPCA Buttercup Farm Friends Easy-to-Make Pom Pom Animals
Pom Pom Animals Pattern (Crafts) | Pom pom animals, Pom pom crafts, Diy pom  pom
Making Pom Pom Animals

Add a piece of string on your pom pom friend and use as a key ring or attach to school bag.

Have fun creating and send a photo of your creations to share on our gallery.

Miss Y

sweater slippers

It’s that time of year again…… no more shorts and t shirts its time to get out your winter warmers. Why not get yourself prepared and start by making yourself a pair of comfy up cycled sweater slippers.

EQUIPMENT:

Jumper, sewing needle, embroidery cotton/ wool,pins, scissors, paper and pencil.

When cutting out slipper please ask your adult to help you cut out.

DIY Slippers from an Old Sweater -3 - Cool Creativities

image from coolcreativity.com

EXTRA ACTIVITY:

Why not add some decorations to your slippers.

Tassels, pom poms, bows, gems beads or use your needle and cotton to add a pattern.

Send in a photo of your finished work and I will share for all your friends and family to view.

I cant wait to see what you come up with.

Have fun and keep creating.

Miss Y

No sew T shirt tote bags

We all have that one favourite t shirt that either doesn’t fit, has a stain or a little hole or two. Now is the time to give that old t.shirt a new lease of life we are going to transform and up cycle them to a tote bag which you can use.

Equipment: T shirt, scissors, ruler ( Yes this is all you need)

T-shirt to tote bag with just scissors & knots. Prep for @… | Flickr
  1. Lay your t.shirt flat on a flat surface.
  2. Cut off the bottom hem of the t. shirt, sleeves and cut out a squared shape at the the neck of the t.shirt. To make an even square fold t.shirt in half and cut out a rectangle shape, then unfold once cut. you should have cut yourself a even square.
  3. Place your now cut t.shirt flat on a flat surface, get your ruler and measure 10 cm by 1.5 cm vertical strips from the bottom of the t.shirt.
  4. Now take 1 tassel from the front and back side of your t shirt and knot together keep on until you have finished all the tassels.
  5. There you have it your ready to use up cycled tote bag.

If you have another t shirt why not make one as a gift for a friend or family member

Have fun stay creative

Miss Y

Sustainable fashion design challenge

For this challenge I want you to come up with as many garment designs using recyclable and non recyclable materials from around the house.

A list of materials you might have in the house that you can use for this challenge.

  1. Foil, crisp packet, sweet wrappers
  2. Newspaper
  3. Sponge
  4. leafs, flowers

Equipment needed: Paper, pencil, pen, scissors, glue and recyclable and non recyclable materials.

  • Draw a head and neck on to your piece of paper.
  • Choose your chosen material and design your outfit. Cut if you need to once you are happy start to glue it down.

  • Once glued down draw in the rest of the body and any other details, and there you have it your very own recyclable fashion design illustration.

Now try using something different this time or try using more then 1 recyclable material for your next outfit design.

Have fun and make sure to use your imagination and get creative.

Miss Y

Eco Painting

Here are a few creative Eco ideas u can do with natural materials whilst out enjoying the weather. Next time you go on into your garden, go for a walk or have a picnic make sure to collect and keep some natural art supplies.

  1. Make your own water colours Push berries or other soft fruit through a sieve to extract your pigment, then mix with just a small splash of water!Grind petals, leaves, or other dry items before mixing with a tiny, tiny bit of honey!
  1. Turmeric = orange.
  2. Mustard = light yellow (just buy the seeds and turn them to powder in your spice grinder)
  3. Spirulina = dark green.
  4. Beet Root = red.
  5. Bilberry Fruit = purple.
  6. Activated Charcoal = black.
  7. Arrowroot = white.
Homemade Natural Colouring - The Imagination Tree

2. Make your own Eco paint brushes – All you will need to make your paintbrushes are leaves, twigs and string.

Mother Nature's Paintbrushes - Mas & Pas

Have a go at creating your own art work using your natural materials, grab a sheet of paper and get started here are a few examples.

Have fun stay creative.

Miss Y

Floral Mono prints

Equipment needed: Paint, paint brush, paper, flowers and leaves. You can collect your materials next time you go for a walk or find something new and interesting in your garden.

Floral printing is a simple fun activity you can do whilst enjoying the lovely weather.

  1. Paint one side of your leaf or flower. Have your paper ready , now start printing get creative. Remember don’t take it too seriously relax have fun and let your creative imagination guide you.

Here are a few examples to help get you started.

Nature Prints: An Easy Monoprinting Tutorial (With images ...
Nature Prints: An Easy Monoprinting Tutorial - Cloth Paper Scissors
Mono Prints, Take Two: This Time with a Gel Printing Plate ...

Why not try finding other objects you have around the home that you could use to make some interesting prints.

  1. Bottom of a bottle
  2. Bottle cap
  3. Screwed up paper / foil
  4. Fork
  5. Orange peel

What other objects could you use to create some more interesting prints.

Have fun and stay creative.

Miss Y

Lego family portrait

‘ Love builds happy home’.

We have all been spending a lot of time at home with our families. These are the times we all need to be mindful, helpful and caring for each other and the best time to make fun memories with your loved ones. A nice way to display your love of your family and cherish precious moments are through family portraits.

Today we are going to make our own Lego family portraits. You can include as many family memembers as you like ( even the dog).

EQUIPMENT: Cardboard, Scissors , paint , A4 paper, paint/ coloured pens/pencils, paint brush, water, glue and black marker. ( Optional old unwanted Lego pieces, photo frame and glue gun)

  1. Cut out small squares representing each member of your family. Then cut out the same amount of squares but smaller for the top of the Lego head.
  2. Now all of your squares have been cut out paint/ colour in YELLOW ( pets can be coloured anyway you like) . Leave in a safe place to dry place.
  3. Once filled in glue down your heads to represent each family member. Now they are stuck down, paint or draw body and leave to dry.
  4. Now all dry use your black marker to add some detail.
  5. Add a small quote/ family name/ date at the bottom of your Lego family portrait.
  6. You can make individual Lego cards for family members you haven’t seen to let them know your thinking of them.

OPTIONAL:

  1. Collect your old Lego and place around your frame. Once satisfied with where you have placed them use your glue gun to secure ( get help from adult).
  2. Once dry mount your portrait into the frame and find a nice place to display your work.

NATURE FRAMES

Why not get creative and bring a little bit of nature into your home.

EQUIPMENT: PAPER, GLUE, PAINT OR ( COLOURED PENS/ PENCILS/ CRAYONS) FLOWERS, LEAFS, (OLD PHOTO FRAME & SMALL OLD TOY OPTIONAL)

  1. Go into your garden or the next time you go out for a walk collect or take pictures of some flowers, plants and bugs if you can. (make sure u wash your hands after you collect your bits of nature).

2. Now draw and paint/ colour a landscape on paper

3. Once dry place your nature bits or print and cut out your images. When you have placed all your objects onto your painting it is now time to glue it all down.

4. Leave to dry. Now your collage is finished you can put it up for all the family to see.

Extra: To make your collage stand out a little more you can put it into a frame. For this part you will need an old frame, glue gun, paint brush, acrylic paint and a old small toy.

  1. Remove the glass/ plastic, then paint your frame any colour you want.
  2. Once dry glue your chosen toy or 3D object onto your frame, add detail on your frame and leave to dry.
  3. Make sure your frame id completely dry put your frame back together and add your collage. Now find a special place to hang your creation for the whole family to see.

Have fun and stay safe

Miss Y

Design a site like this with WordPress.com
Get started